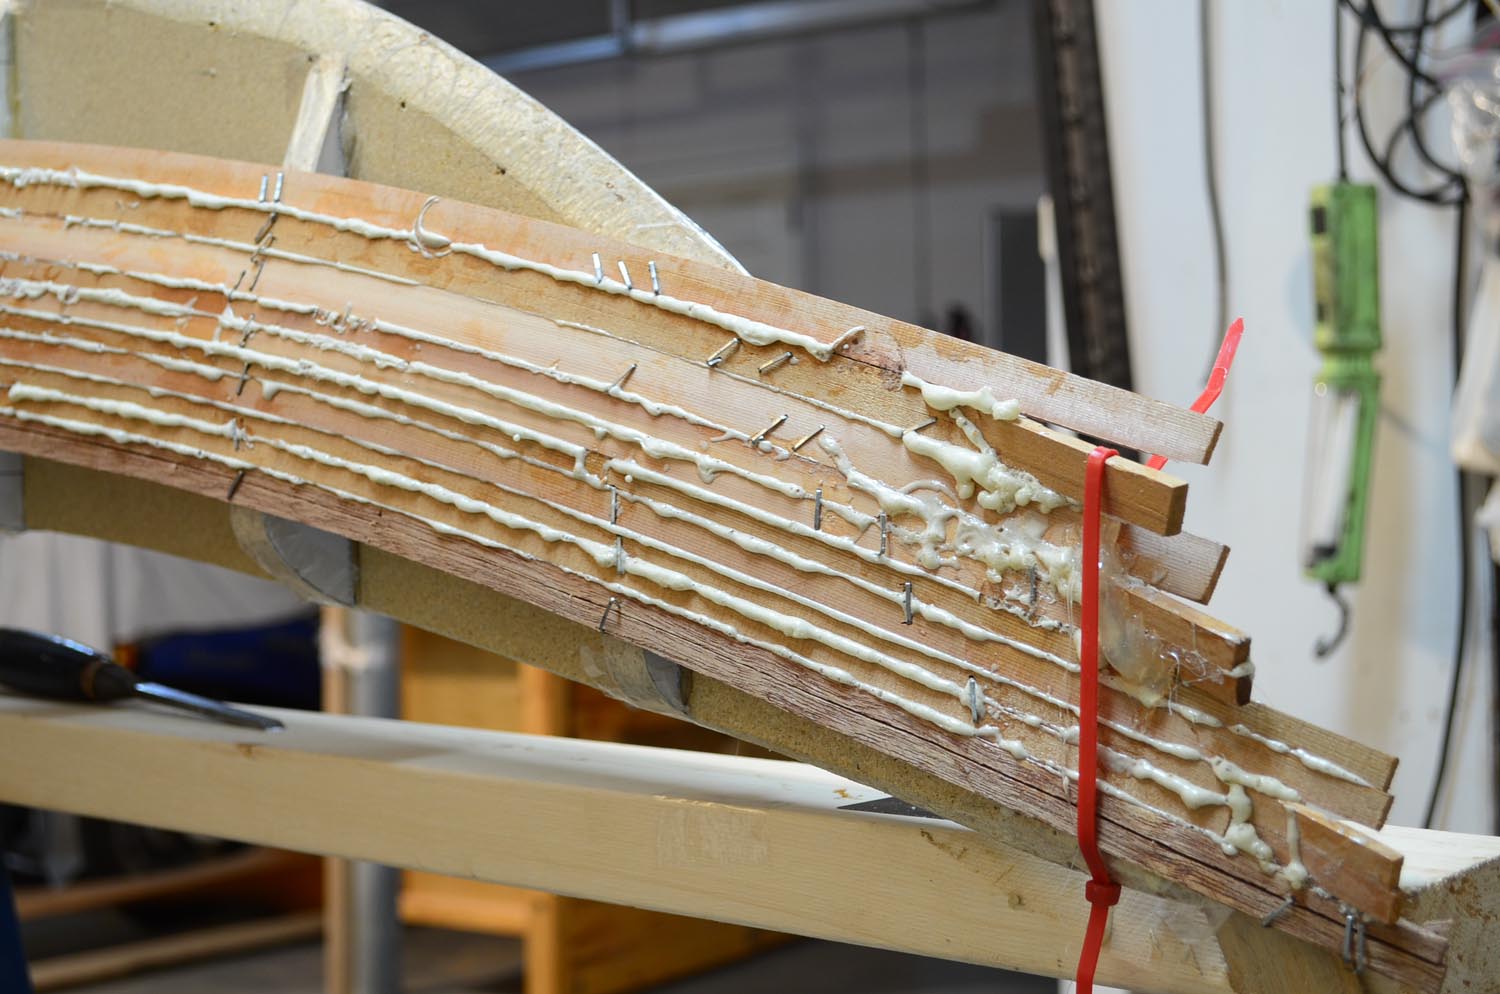
The swept bow and stern creates clamping challenges but splitting the strips over the curved portion with a utility knife is a great help.
The hull is progressing well with few problems. I haven’t used the traditional bead and cove method but instead used plain strips and beveled one edge of each strip to achieve a good fit. I used polyurethane glue rather than white glue making final clean up very easy.
You might think that beveling one edge of each strip is difficult and time consuming. In fact it isn’t. Although the angle constantly changes with the form of the hull I found a simple method to get a reasonable fit.
- Hold the new strip in place and check the gap along the outer edge of the plank. The bigger the gap the bigger the bevel that needs planing.
- Estimate the size of the gap; I used an arbitary scale of zero to three, zero for no gap and three for the big gaps that occur as the planks bend at the soft chines. I marked the numbers on the plank as I worked along it.
- Transfer the plank to a vice and start planning the bevel. I did it purely by eye, changing the angle according to the adjacent number and making sure the bevel transitions smoothly along the plank. I found it takes about five minutes to do an eight-foot strip.
- Refit and adjust if necessary.
It really is that easy and perfection isn’t necessary as the real strength in the structure will come from the glass cloth. Strips are less fragile and easier to handle this way. I haven’t used bead and cove on this small scale so I can’t comment on overall speed.

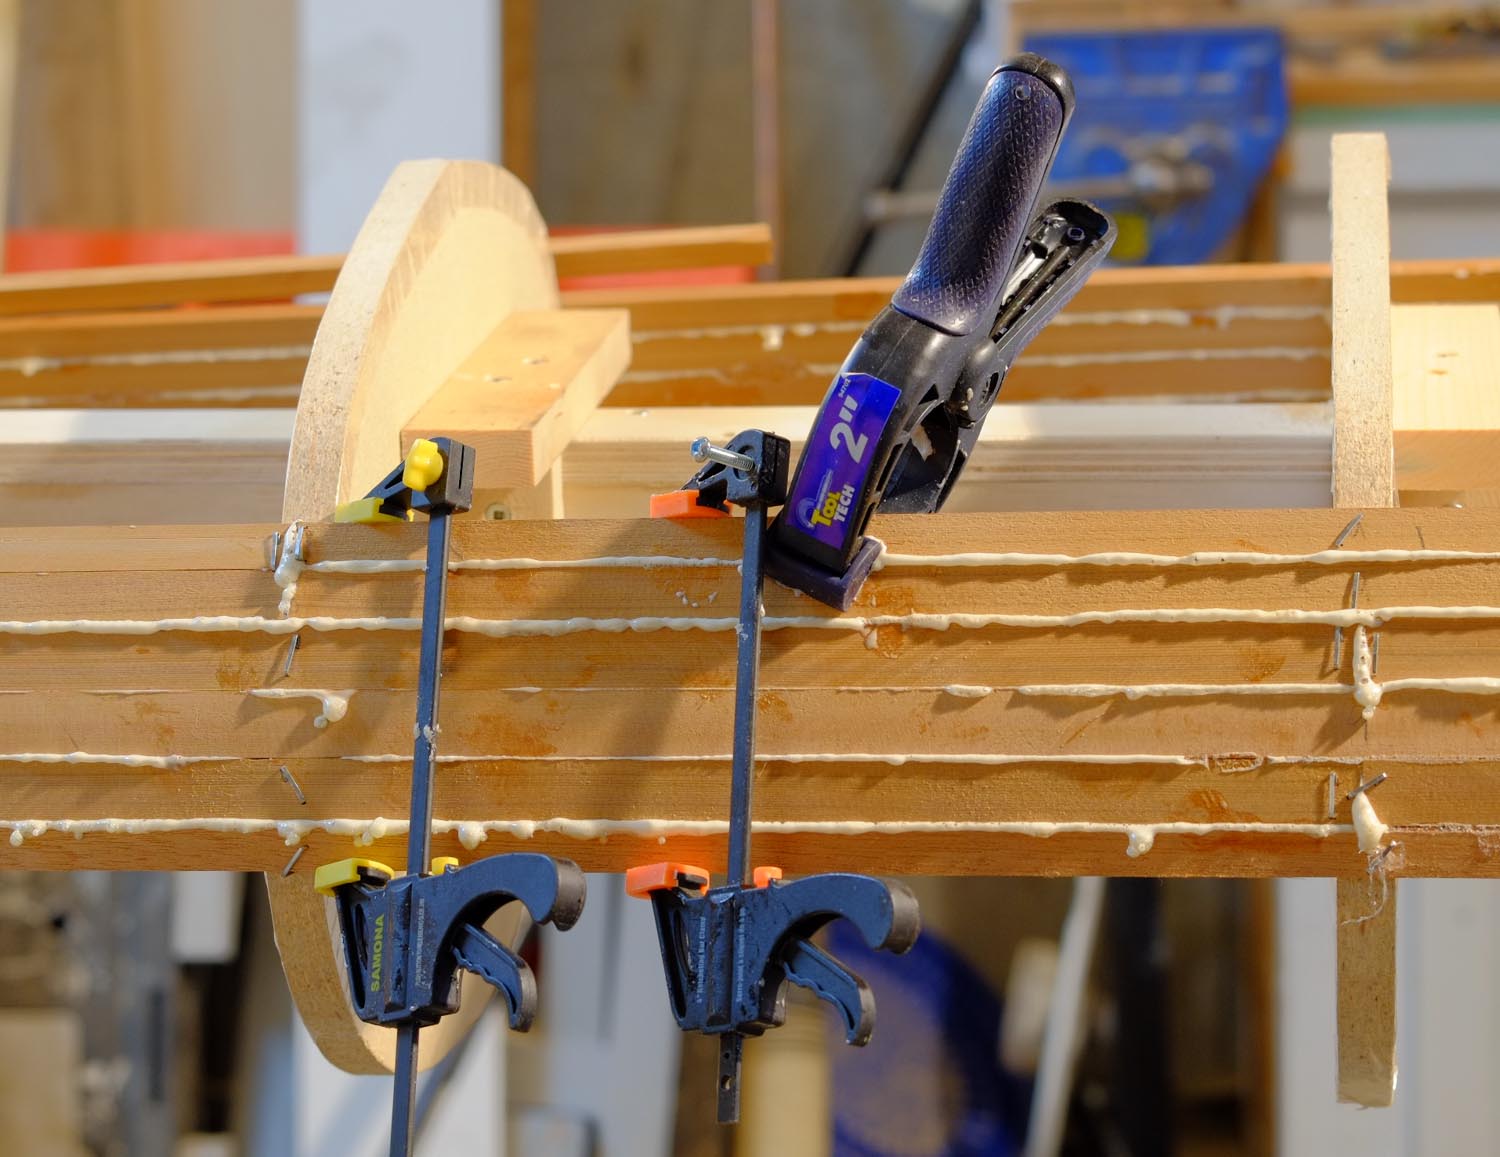
These light weight bar-clamps cost just a few bucks and are ideal for holding strips between stations.
My strips were ¼” thick and ¾” wide except those that made a tighter turn at the chines where I used strips a little over ½” wide.
To handle the upswept bow and stern, I cut the strips down the middle, length ways with a utility knife – effectively laminating using narrower strips.
The compound curvature at the stern was challenging but I found that careful use of a heat gun would allow me to set some twist and bend in the strips making the final gluing, clamping and stapling easier.
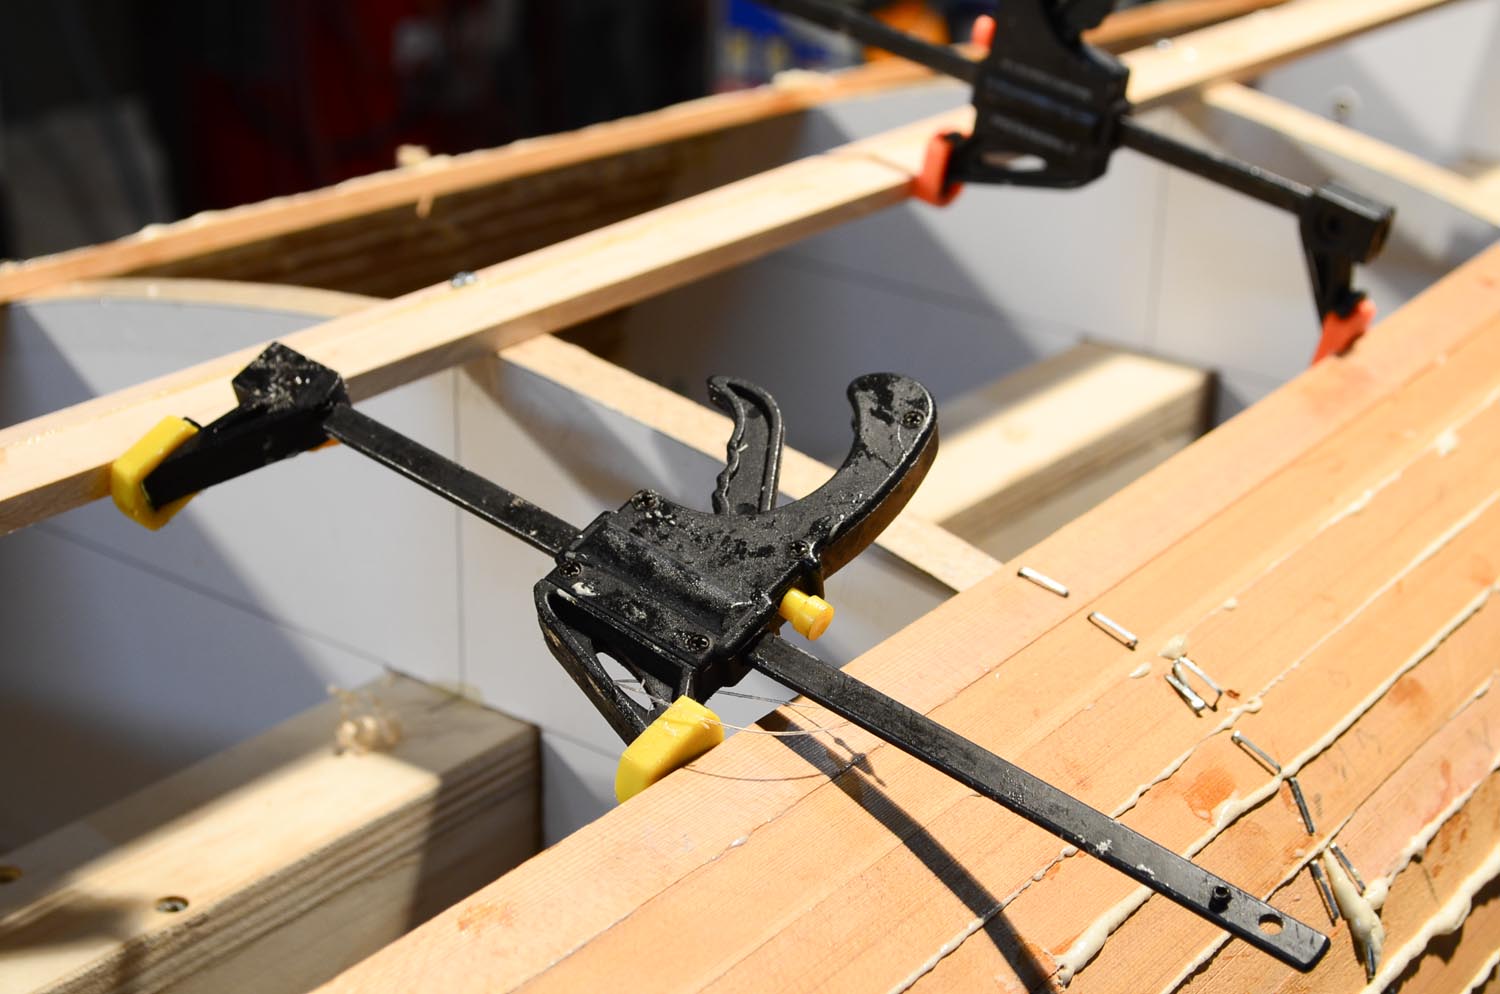
Staples would secure most strips but I needed clamps at the bow and stern too. I used a maple keel and mahogany sheer strip – great for bracing clamps as red cedar is just too soft for repeated clamping.

Here the clamps are reversed to push against the maple keel.