It took about 30 hours of sanding and painting to refinish Rainbird’s hull.
Over the last 30 years I’ve painted several large wooden boats. If you haven’t done it before it can seem a daunting task, but as I will explain here, with some careful planning it can be done successfully with minimal equipment and materials costs. By painting, I mean good technique with roller and brush and not spray painting – a more demanding and costly alternative. You will need to adapt the materials and techniques to whatever you have available in your part of the world.
The best paint systems – in terms of durability – are two part polyurethanes. Unfortunately, for the boat owner operating on a tight budget they are usually out of the question unless you have the well-controlled conditions needed to spray them. Many years ago I did paint a 36’ catamaran with a two-part system, using a roller and brush but it was difficult and stressful and I wasn’t entirely happy with the results. Two of us worked outdoors and by luck, it happened during a wonderful break in the weather but I would not risk it again.
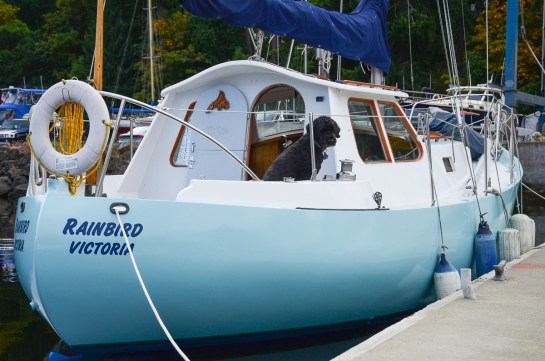
The last boat I painted, Rainbird, a 33 foot Bill Garden sloop, was prepped and painted, single handed, in a week. It was hard, dusty work but my timing, weather wise, was good. I had Rainbird hauled out at Maple Bay on the east side of Vancouver Island, at a yard that allows owners to work on their boats. Historically this time of year is often sunny but not too warm – perfect for hours of sanding and applying paint.
Rainbird had been painted by the previous owners with a single-part Z-Spar yacht enamel approximately ten years earlier. Her red cedar, cold-molded hull was epoxy coated but not sheathed. The teal blue paint had turned very chalky. There were a few cracks in the paint and some minor peeling but the overall the integrity was good. All it needed was sanding and some minor repairs before applying a fresh coat of paint.
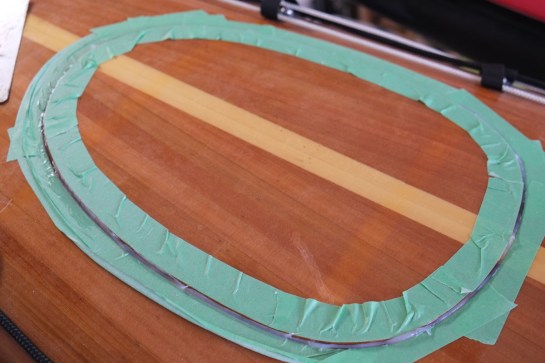
The yard kindly lent me some boards and supports to build a scaffold. I hooked up my orbital sander to a vacuum cleaner and set to work. It was hard, dusty work and I was happy that I could use the marina’s showers at the end of each day. I just worked my way around the boat, with two random orbital sanders, one with 80 grit and the other with 120 for finishing. I believe I used around 70 of the Velcro type sanding pads. This is a big boat and yes, if you looked closely at the finished job you might see swirls from the sanders – I didn’t have the time or energy to go for a perfect finish. I just needed a finish that would adhere well and last for another ten years.
Once I had thoroughly sanded the hull I washed it down with fresh water and dried it with clean cloths to remove the last traces of paint dust.
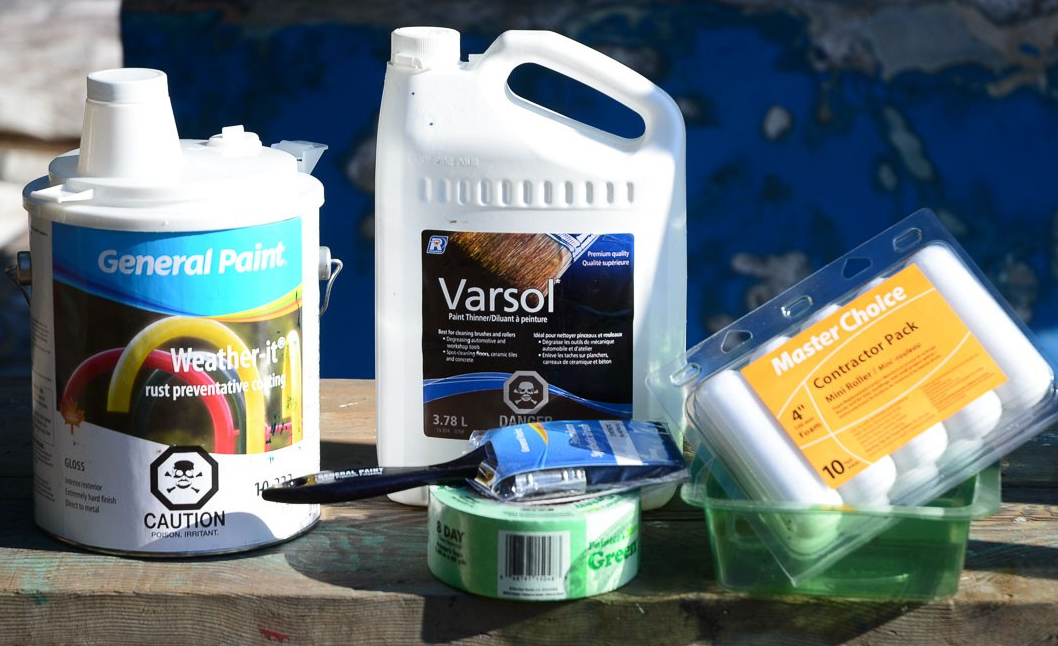
Some of the essentials.
The late summer mornings were damp so I would wipe away condensation prior to painting. The boat was oriented north/south so I only painted the side out of the sun. I painted a whole side without stopping to avoid an unsightly overlap.
I had painted Rainbird’s decks and cabin with General Paint’s Weather-it three years earlier and was very happy with the results. It was easy to apply and still looked as good as new. The paint was intended for commercial steel work and as Rainbird’s cold-molded hull was unlikely to move much I felt this paint would be a good match. It was also considerably cheaper than yacht enamel.
I bought some brushing thinners and a quality 3” brush. I would apply the paint with a 4” roller and then “tip off” the freshly laid paint with the brush. I always had a second brush at hand incase the first became contaminated.
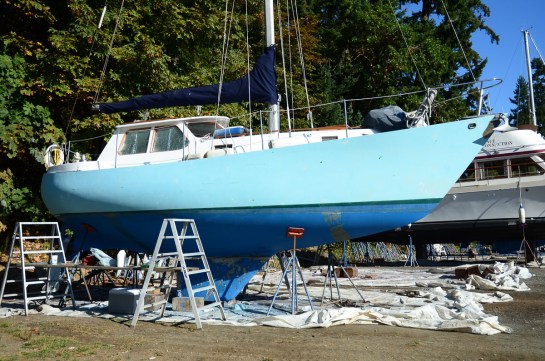
With the sanding complete it’s time to start painting.
Painting a side took about 3 hours. I would apply a vertical panel of paint about 18” wide with the roller and then “tip-off” with the brush. Speed is essential because you need to maintain the wet edge. Having a second pair of hands would have been very useful because one could apply paint with the roller while the other “tips-off”. You will probably need a brushing thinner – the exact amount depends on how fast you are working as well as temperature, humidity and wind.
Luckily the wind (and bugs) held off and the daytime high stayed below 20C. The first coat looked fantastic. I was planning a second coat but the weather broke. Unfortunately, I needed to return home and yard fees together with the prospect of fall weather didn’t make a holding-off for a second coat practical.
I dodged showers while antifouling and doing some mechanical work. Rainbird went back into the water ten days after she was hauled. I was very happy with her new paint job.
********
If you enjoy my blog you might like to read about my sailing adventure on the west coast of Britain. “Suilven’s Travels” tells how I sold my home and with my partner Jill Brown, built a 26′ Wharram catamaran which we sailed around the coasts of England, Wales, Scotland and Ireland. “Suilven’s Travels” is available as an ebook for $4.99 on Amazon and the proceeds help support this blog.