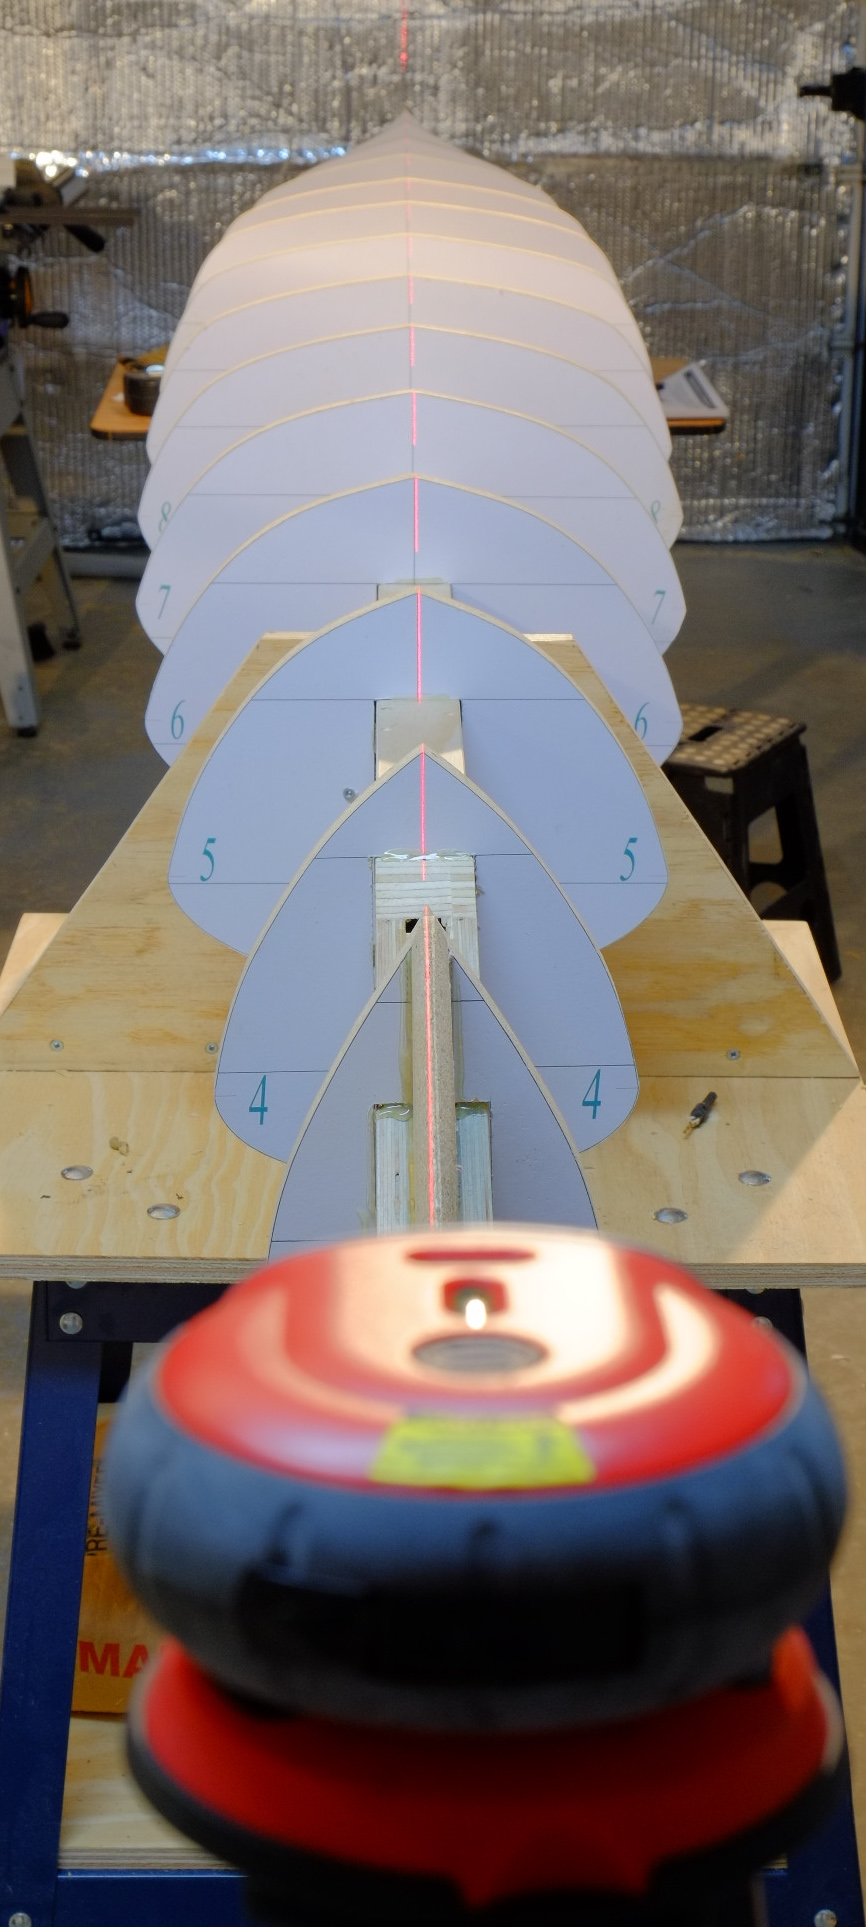
Aligning stations with a simple laser-level is easy.
A friend introduced me to kayaking last year and quickly got me hooked. I decided to build one over the winter and I will report progress from time-to-time and pass on any useful building tips.
A few trips on local lakes convinced me that I wanted my own kayak and subsequent research revealed that choosing one wasn’t as easy as it first seemed. There are always design compromises and in an ideal world one would have a selection of kayaks and chose according to the whim of the moment or the task in hand. I wanted it all; speed, stability, lightness, durability, seaworthiness and carrying capacity all in the same boat but as with other areas of life, compromises would be needed.
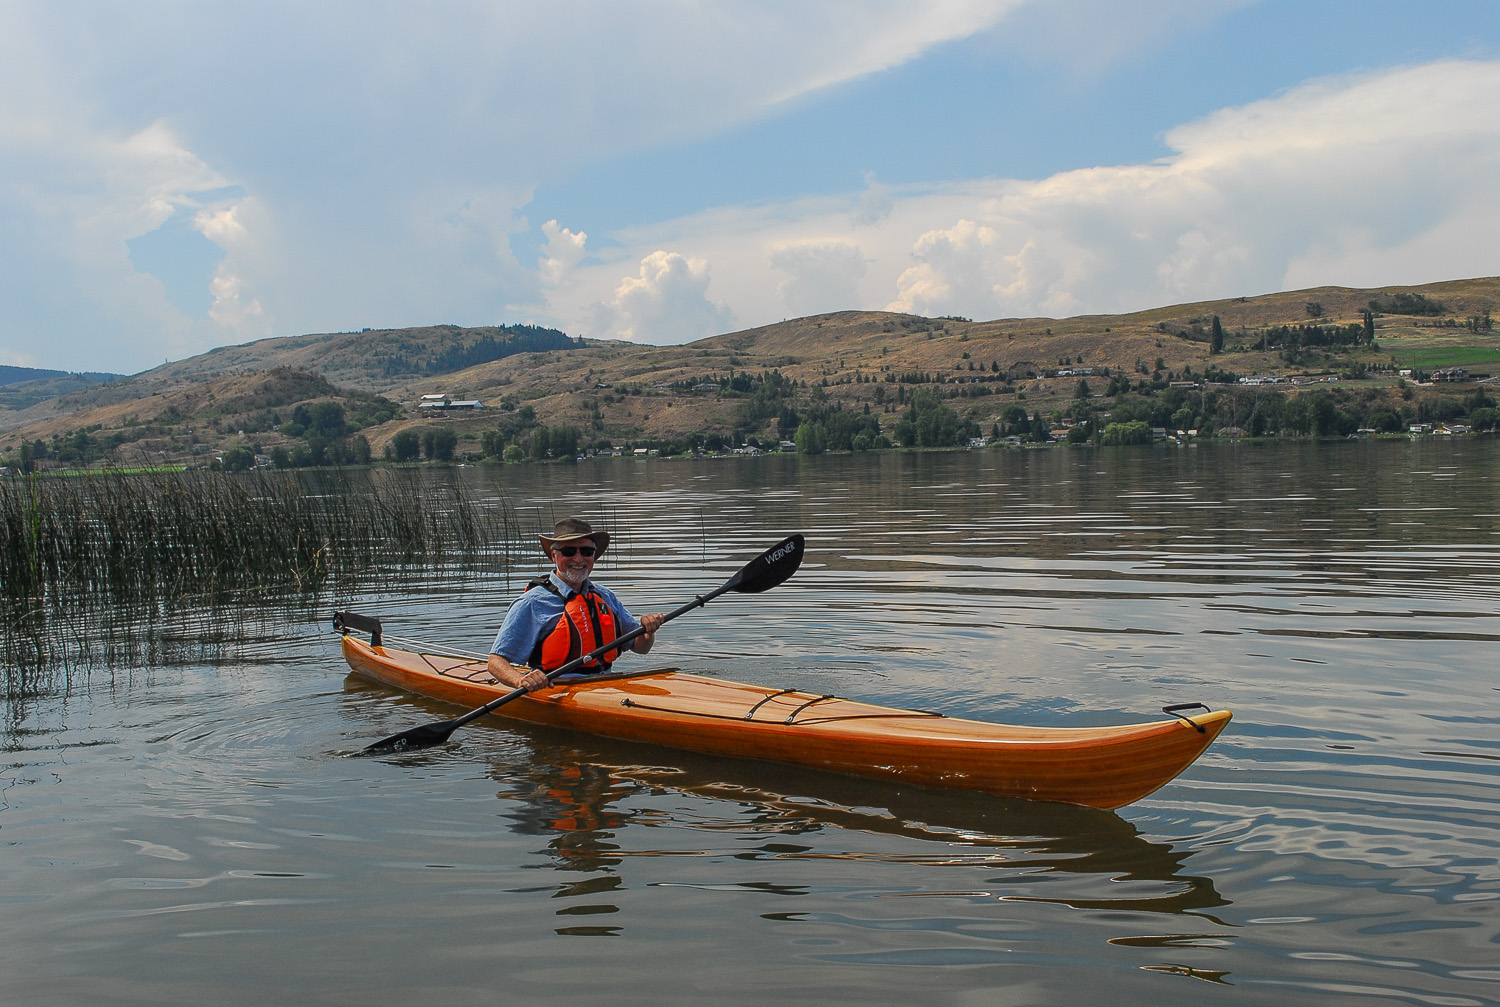
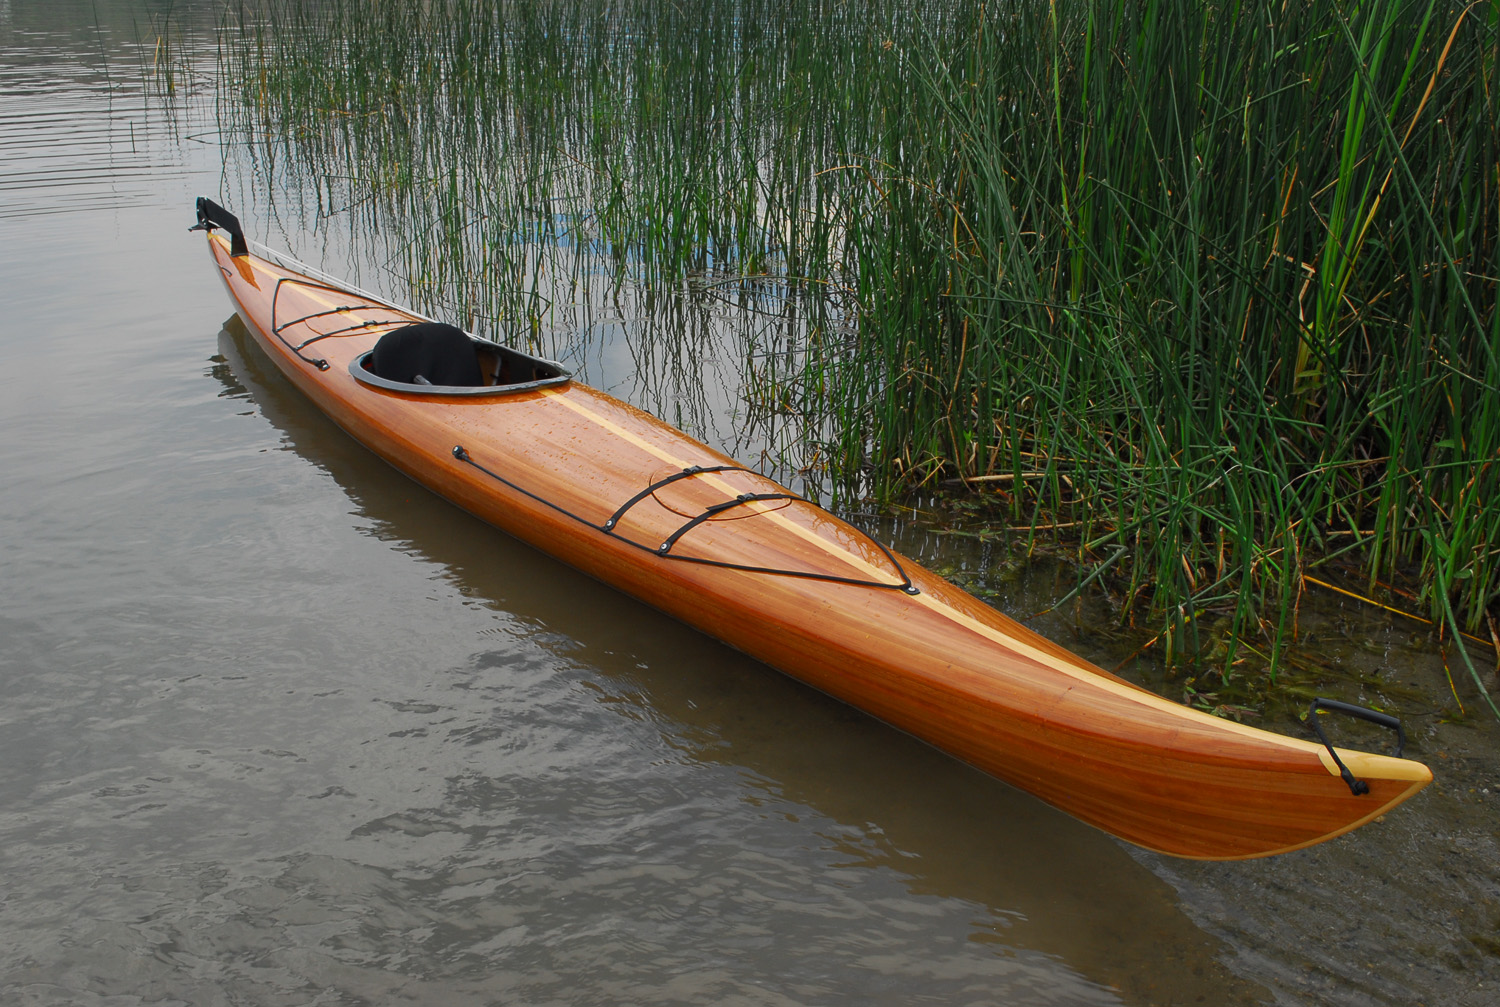
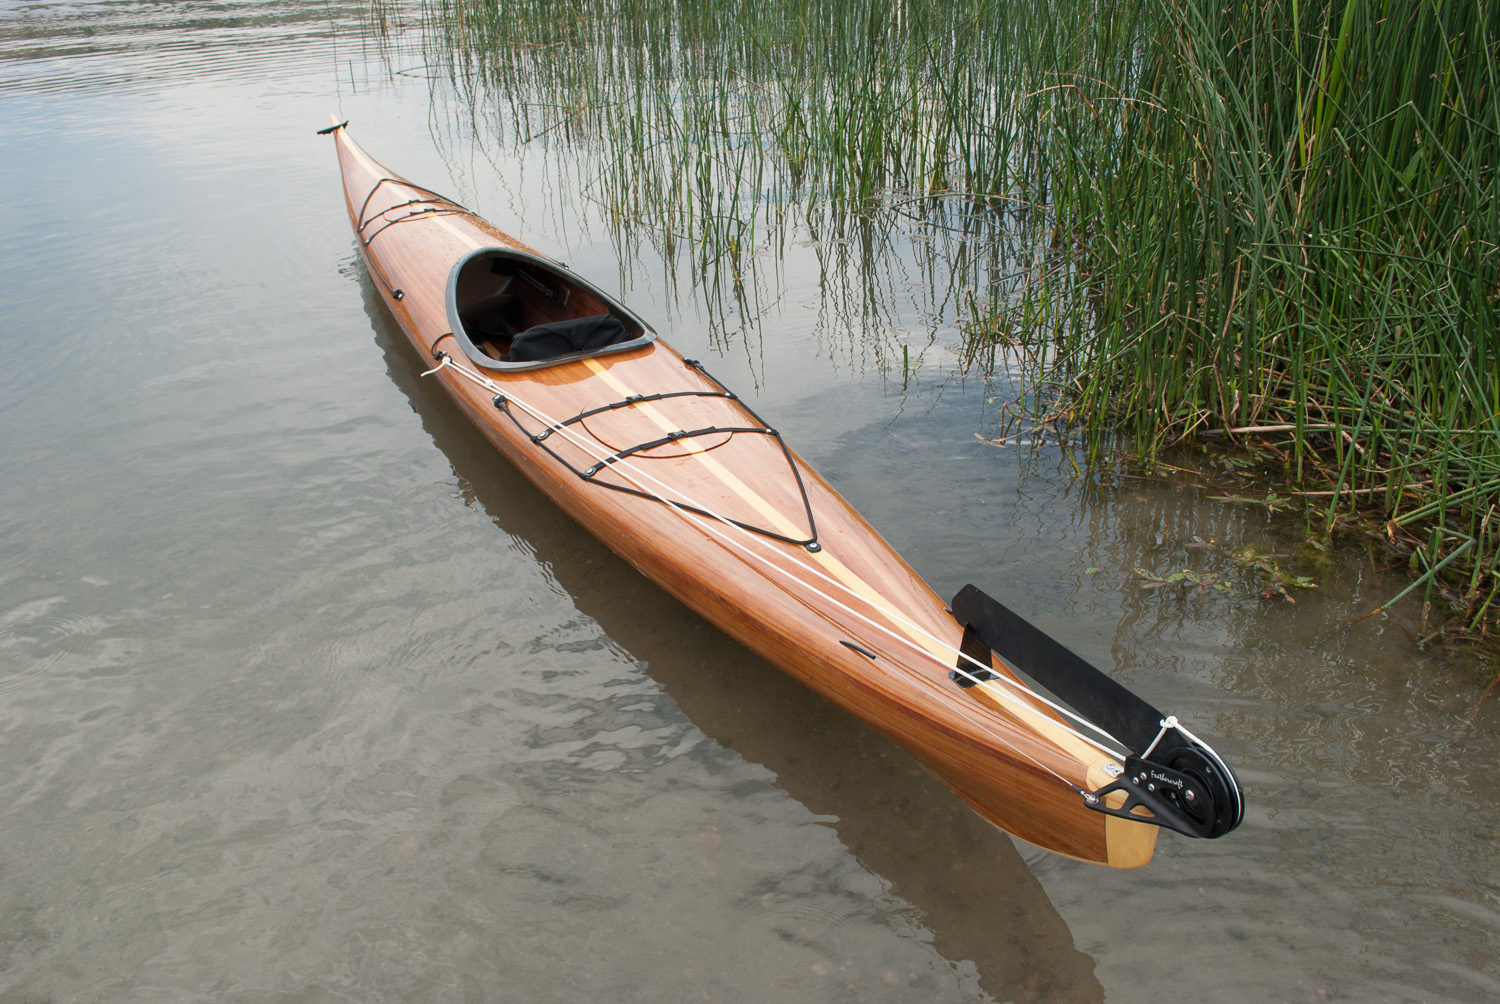
I got off to a false start when I purchased plans for a simple, 16’ stitch and glue design from a well known supplier. I soon realized that I had chosen a design which I would quickly outgrow. Although stable and predictable, it was probably going to be slow, so I set aside the plans and resumed my search, eventually settling on the Storm LT by One Ocean Kayaks. It is narrow (21.5” beam) and has a 16’ 3” L.O.A. with graceful, upswept ends. The Storm LT is actually a smaller version of the designer Vaclav Stejskal’s Cape Ann Storm and should be a good match for my 150 lb weight. For a novice its narrow beam may be a bit of a challenge and I hope that I haven’t bitten off more than I can chew. Fortunately, the designer claims good secondary stability which is comforting for someone who loves being on the water not in it.
The plans and manual for this strip-planked boat were beautifully done and there seems to be a plethora of advice available on-line with step-by-step building photographs and tips. There is also a wealth of hydrodynamic data which instills confidence.
So why build when there are plenty of production boats available, some little more expensive than the cost of materials for this strip-planked design? Well, it quickly became clear that a kayak is a boat that you slip-on and wear. It has to be a good fit, in terms of body weight and size, otherwise performance and comfort will suffer. Production boats are available in limited sizes.
In selecting a custom design, I felt that I could get close to the optimum boat for my weight and build. Not only that, I would have the lightest possible boat – important when loading onto a roof-rack or carrying up a beach. Indeed, the Storm LT should weigh less than a carbon-fiber production boat of similar size. Aesthetically, the strip-plank boat also wins hands-down.
I was once helped build a 36’ strip-cedar catamaran. I haven’t used this technique since and wanted to give it another try.
Building the mould was fairly straight forward, except that the plywood spine, built as a box beam, wasn’t perfectly true. I used an inexpensive laser level to check the alignment against convenient datum lines on the stations and made the appropriate adjustments using wedges and other methods of persuasion. The plans suggest using saw horses to support the mold but I opted for a couple of inexpensive metal stands designed for chop-saws or drill presses. These were “ballasted” with heavy items to keep them firmly in position. Now I have a fair mould.
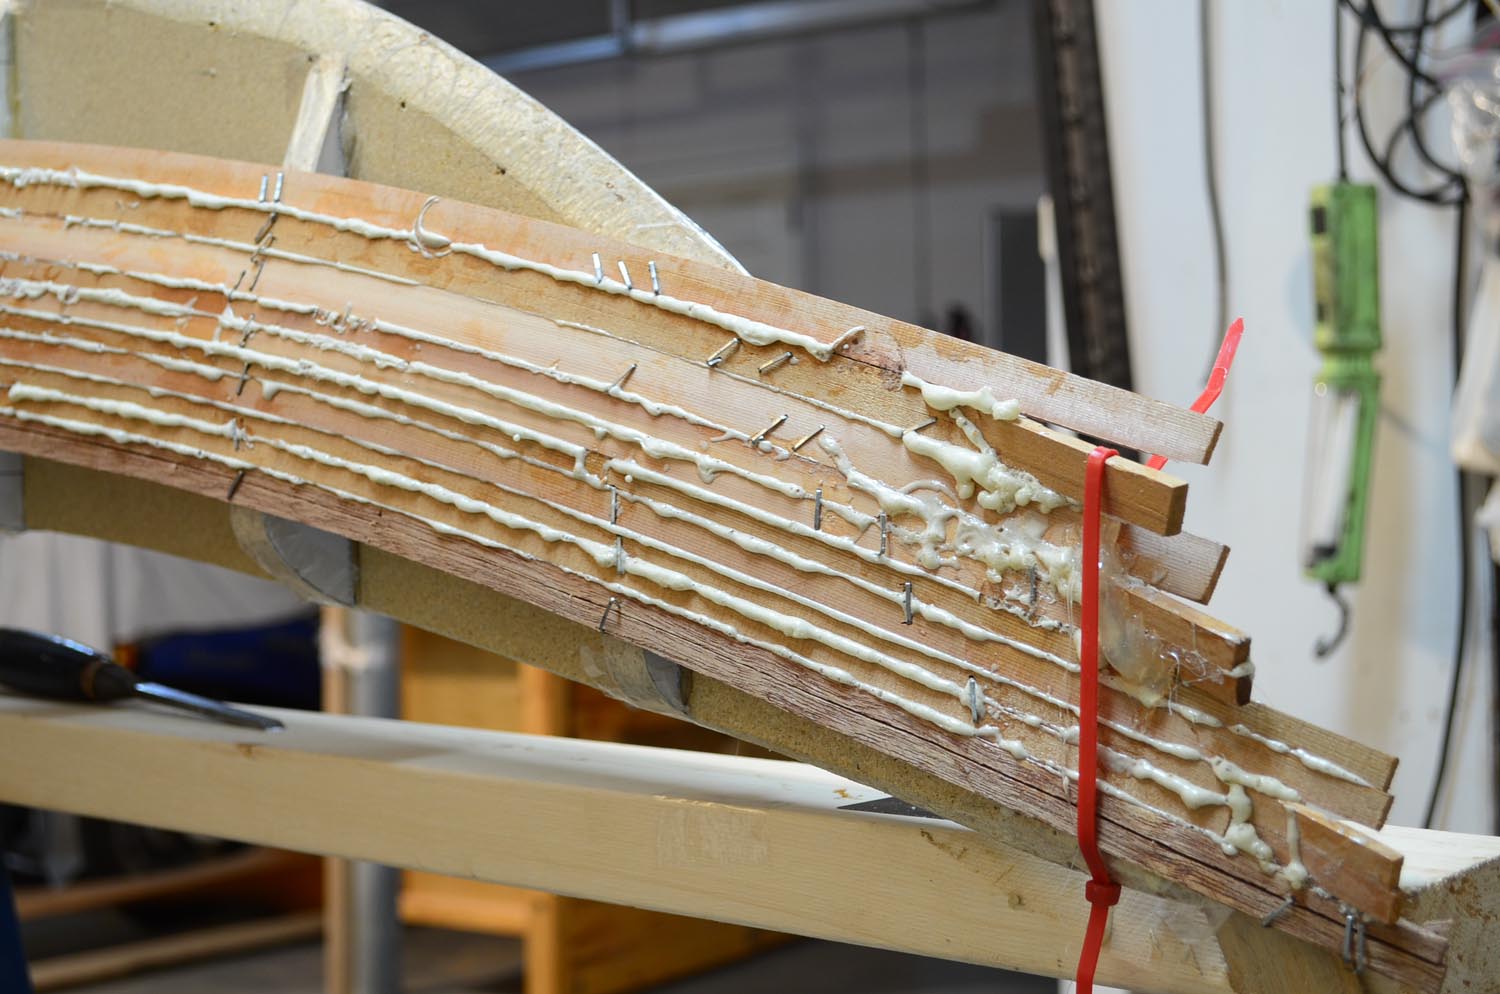
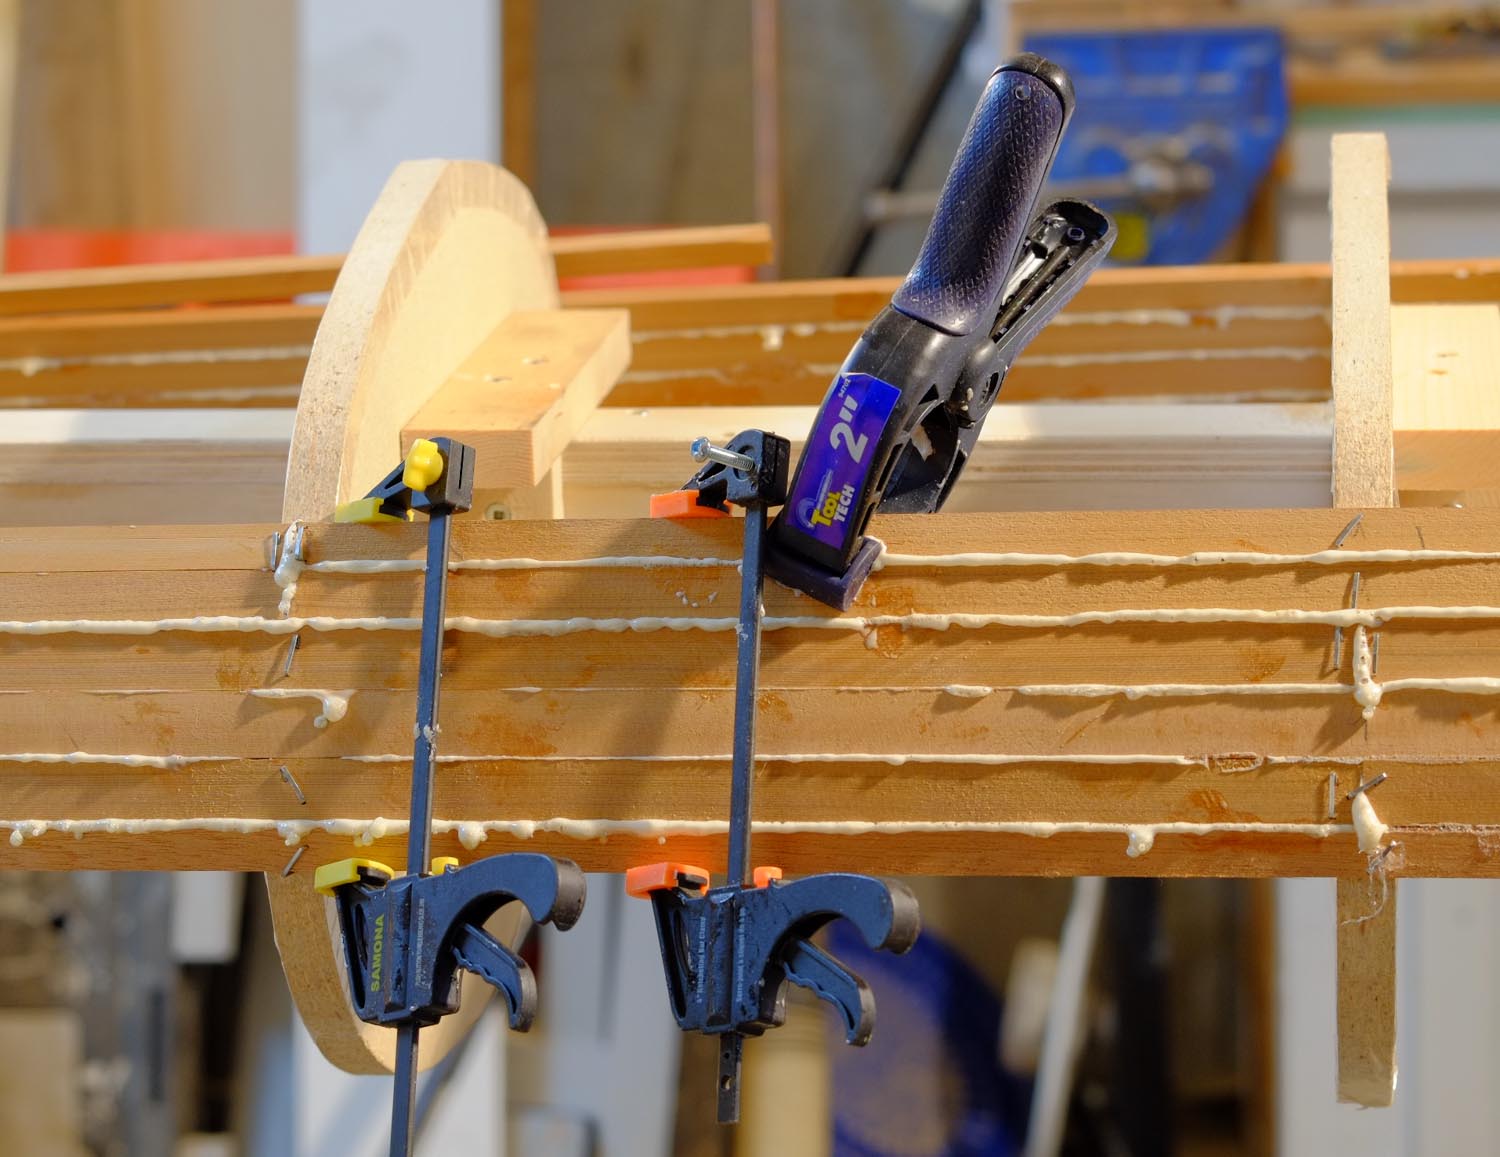
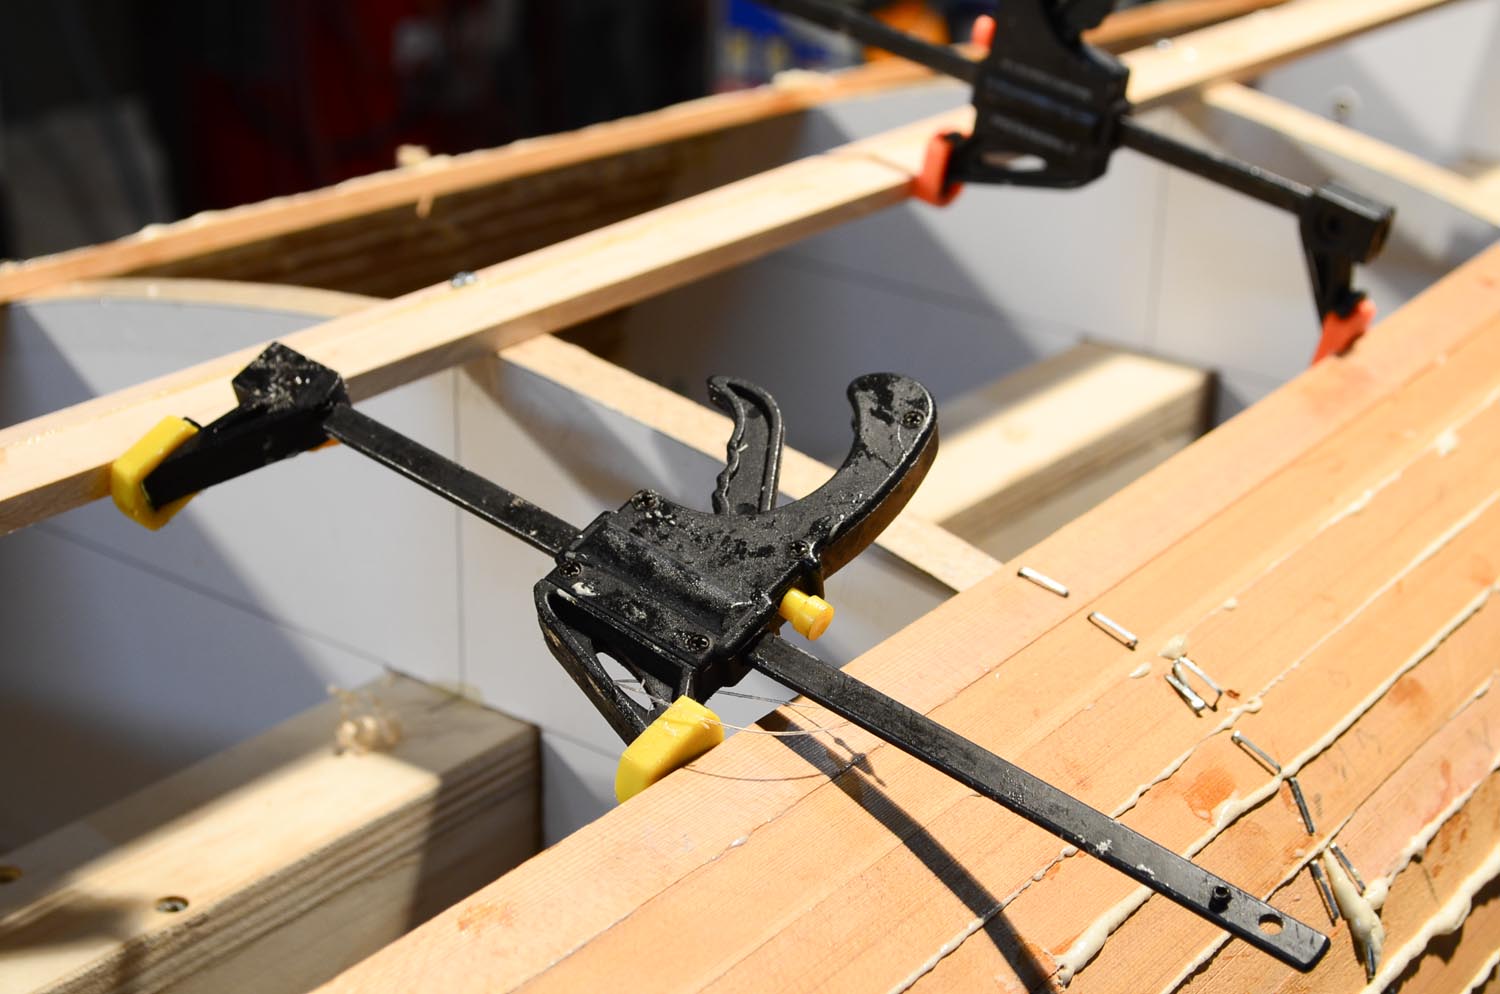
I’m using ¼” red cedar, sawn from clear 16’ boards. I’m not using bead and cove molding but will use a block plane to fit each strip individually. I am using Titebond Polyurethane glue because the squeeze-out turns to foam, making clean-up really easy.
All well and good in theory but I will let you know how it works in practice. Stay tuned!